RIP Stadia. I'll miss you.
[jeremy@fedora ~]$ vainfolibva info: VA-API version 1.14.0libva info: Trying to open /usr/lib64/dri/radeonsi_drv_video.solibva info: Found init function __vaDriverInit_1_14libva info: va_openDriver() returns 0vainfo: VA-API version: 1.14 (libva 2.14.0)vainfo: Driver version: Mesa Gallium driver 22.0.3 for AMD Radeon RX 6900 XT (sienna_cichlid, LLVM 14.0.0, DRM 3.44, 5.17.12-300.fc36.x86_64)vainfo: Supported profile and entrypointsVAProfileMPEG2Simple : VAEntrypointVLDVAProfileMPEG2Main : VAEntrypointVLDVAProfileVC1Simple : VAEntrypointVLDVAProfileVC1Main : VAEntrypointVLDVAProfileVC1Advanced : VAEntrypointVLDVAProfileH264ConstrainedBaseline: VAEntrypointVLDVAProfileH264ConstrainedBaseline: VAEntrypointEncSliceVAProfileH264Main : VAEntrypointVLDVAProfileH264Main : VAEntrypointEncSliceVAProfileH264High : VAEntrypointVLDVAProfileH264High : VAEntrypointEncSliceVAProfileHEVCMain : VAEntrypointVLDVAProfileHEVCMain : VAEntrypointEncSliceVAProfileHEVCMain10 : VAEntrypointVLDVAProfileHEVCMain10 : VAEntrypointEncSliceVAProfileJPEGBaseline : VAEntrypointVLDVAProfileVP9Profile0 : VAEntrypointVLDVAProfileVP9Profile2 : VAEntrypointVLDVAProfileAV1Profile0 : VAEntrypointVLDVAProfileNone : VAEntrypointVideoProc
It looks like my card is supported so I'm gonna move on to convinecing Chrome to use this hardware decode acceleration. Several forum posts from the past couple of years claim I need to set flags under chrome://flags to enable hardware VP9 decoding but this is untrue. I've done everything via the command line. I didn't want to make anything set in stone so the command line is fine with me.
Here is the terminal command I used to start Chrome with.
google-chrome --ignore-gpu-blocklist --enable-gpu-rasterization --enable-zero-copy --enable-features=VaapiVideoDecoder --disable-features=UseChromeOSDirectVideoDecoder --use-gl=egl
After starting Chrome with the above options you can navigate to chrome://gpu and check out what your card is capable of. Mine looks like the below.

The biggie here is Video Decode: Hardware accelerated. If you see it's enable then Stadia should be good to go.
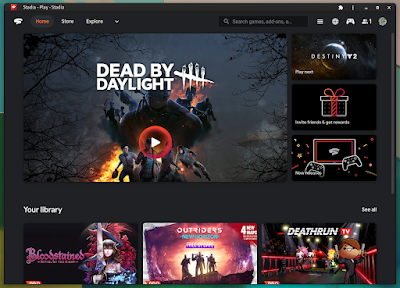
Before you run off to stadia.com I recommend installing one google extension to help enable the VP9 codec and set your monitor's resolution. I'm talking about Stadia Enhanced. You can find it by clicking here or searching for it on the Chrome Web Store. Once you have it added to Chrome we can go to stadia.com.
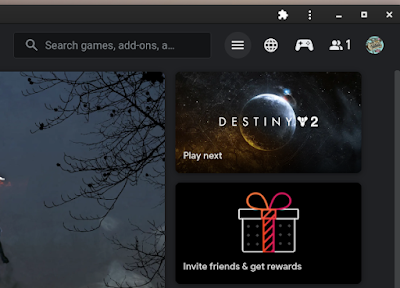
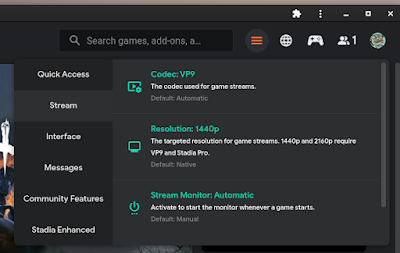
If you're familiar with the Stadia website you'll notice a couple of changes caused by Stadia Enhanced. Namely the cheeseburger menu button next to the search box. We'll be using this menu to set up the few changes we need to make to Stadia. Just follow along and you'll be set in no time.
Normally after setting option in Stadia I refresh the page to make sure they took properly. After Stadia refreshes pick a game and start it. If everything goes as it should you will have confirmation in the Stream Monitor nestled in the upper left hand corner. It should look something like this.
